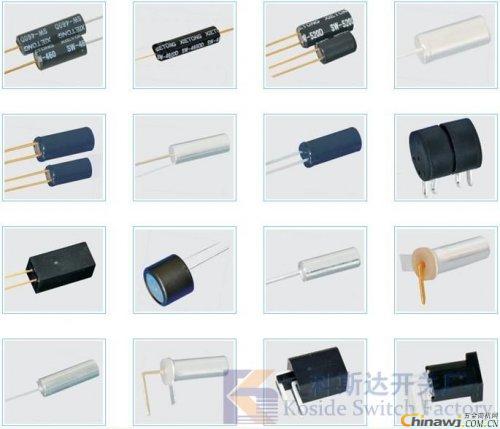
Ball test vibration test method, ball switch test description, ball switch detection knowledge
Ball test vibration test method, ball switch test description, ball switch detection knowledge 
First, engineering vibration test method
In the field of engineering vibration testing, there are various testing methods and methods, but they can be divided into three categories according to the measurement methods of various parameters and the physical properties of the measurement process.
1. Mechanical measurement method
The parameters of the engineering vibration are converted into mechanical signals, and then measured and recorded by the mechanical system. The commonly used instruments include a lever type vibrometer and a Geiger vibrometer, which can measure lower frequency and accuracy. difference. However, it is simple and convenient to test in the field.
2, optical measurement method
The parameters of the engineering vibration are converted into optical signals, which are displayed and recorded after being enlarged by the optical system. Such as reading microscopes and laser vibrometers.
3, electrical measurement method
The parameters of the engineering vibration are converted into electrical signals, which are displayed and recorded after being amplified by the electronic circuit. The main point of the electrical measurement method is to convert the amount of mechanical vibration into electric quantity (electromotive force, electric charge, and other electric quantity), and then measure the electric quantity to obtain the mechanical quantity to be measured. This is currently the most widely used measurement method.
Although the physical properties of the above three measurement methods are different, the measurement systems are basically the same, and they all include three steps of picking up, measuring and amplifying lines and displaying records.
1. Pick up the link. The amount of mechanical vibration to be measured is converted into a mechanical, optical or electrical signal, and the device that performs this conversion is called a sensor.
2. Measuring lines. There are many types of measurement lines, and they are designed for the transformation principle of various sensors. For example, measurement lines for piezoelectric sensors include voltage amplifiers, charge amplifiers, etc. In addition, there are integral lines, differential lines, filter lines, normalization devices, and the like.
3. Signal analysis and display and recording. The voltage signal output from the measuring line can be input to the signal analyzer or to the display instrument (such as electronic voltmeter, oscilloscope, phase meter, etc.) and recording equipment (such as light oscilloscope, tape recorder, X-Y) according to the measurement requirements. Recorder, etc.). It can also be recorded on a tape if necessary, and then input to a signal analyzer for various analysis processes to obtain the final result.
Second, the mechanical receiving principle of the sensor
The vibration sensor is one of the key components in the testing technology. Its function is mainly to receive the mechanical quantity and convert it into a proportional amount of electricity. Because it is also an electromechanical conversion device. So we sometimes call it a transducer, a vibrator, and so on.
The vibration sensor does not directly convert the original mechanical quantity to be measured into electricity. Instead, it takes the original mechanical quantity to be measured as the input of the vibration sensor, and then receives it by the mechanical receiving part to form another mechanical quantity suitable for transformation. Finally, the electromechanical conversion part will be converted into electric quantity. Therefore, the performance of a sensor is determined by the performance of the mechanical receiving portion and the electromechanical transducer.
1. Relative mechanical receiving principle
Since mechanical motion is the simplest form of material motion, the first thing people think of is mechanical measurement of vibration to create a mechanical vibrometer (such as a Geiger vibrometer). The mechanical receiving principle of the sensor is based on this. The working receiving principle of the relative vibrometer is to fix the instrument on the stationary bracket during the measurement, so that the contact rod and the object to be tested have the same vibration direction, and the elastic force of the spring is in contact with the surface of the object to be measured. When the object vibrates, the lever moves with it, and pushes the recording pen to draw a curve of the displacement of the vibrating object over time on the moving paper strip. According to this recording curve, the magnitude and frequency of the displacement can be calculated.
It can be seen that the measured result of the relative mechanical receiving portion is the relative vibration of the measured object relative to the reference body, and the absolute vibration of the measured object can be measured only when the reference body is absolutely stationary. In this way, a problem arises. When it is necessary to measure absolute vibration, but can not find a stationary reference point, such instruments are useless. For example: testing the vibration of a diesel locomotive on a moving diesel locomotive, measuring the vibration of the ground and buildings during an earthquake... There is no fixed reference point. In this case, we must measure with a vibrometer of another measurement method, that is, use an inertial vibrometer.
2. Inertial mechanical receiving principle
When the inertial mechanical vibrometer is used for vibration measurement, the vibrometer is directly fixed to the measuring point of the measured vibrating object, and when the sensor shell is connected with the measured vibrating object
Http://bodongkaiguan.net/ Â Check related product information. 